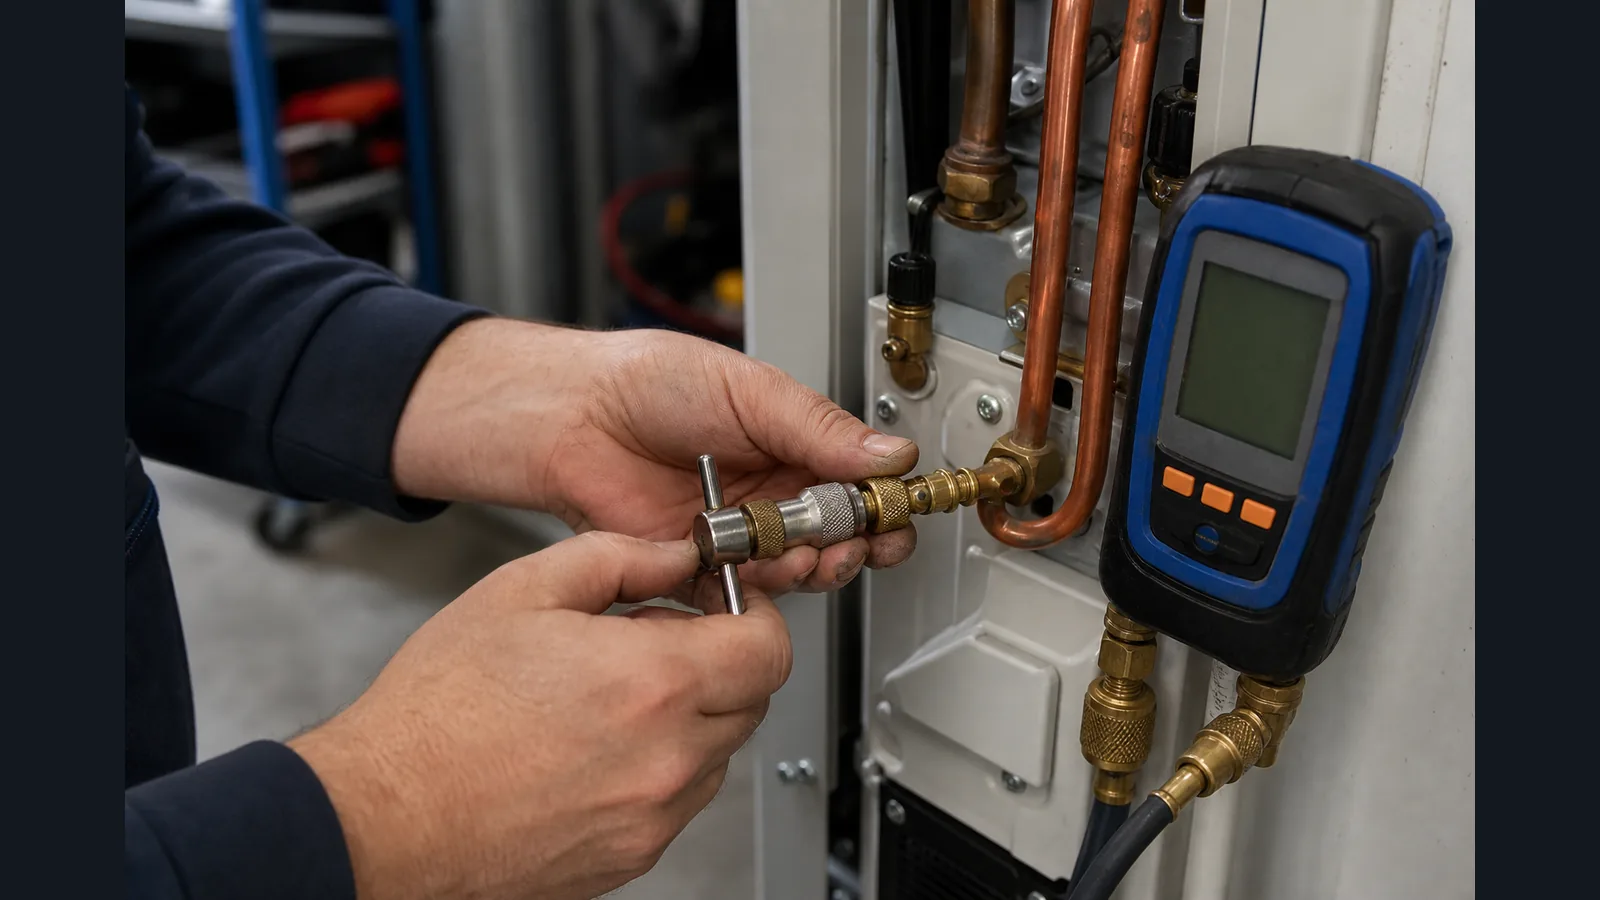
How to isolate vacuum pump for decay test without false pass readings
A decay test only proves the circuit holds vacuum after you isolate the pump. Get the isolation wrong—gauge still tied to pump hoses, blank-off leaking, core left in the path—and you can watch a meaningless spike or a false flat line. UK field techs running standing vacuum work on domestic splits need a repeatable sequence, not hope.
Problem frame: blank-off leaves gauge on wrong side
Closing a pump blank-off while the micron gauge remains on the pump side tells you almost nothing about the system. FSW UK training notes that blank-offs are notorious leakers; even a good blank-off isolates the wrong volume if the gauge never sees the circuit alone. The fix is isolating system, hoses, and pump in an order that leaves the gauge on the system side of a trusted valve.
Correct sequence: core tools, CRT, gauge on system side
- Pull vacuum with cores removed where safe and large-bore path to the pump.
- Reach your pull target on a gauge connected to the system port or valve-core removal tool side port.
- Close the CRT or core-tool valve to isolate the system from pump and hoses.
- Stop the pump (or leave it running but isolated—either way the system volume is sealed from pump-side leaks).
- Watch the micron reading for 10–15 minutes and log the curve.
Fieldpiece and COOLINK guidance align: isolate at the core tool or manifold valve, then monitor rise. A dual-ball-valve CRT lets you park the gauge on the side port without adding unnecessary leak points during later recovery or charging steps.
Wrong vs right placement outcomes
Wrong: gauge on pump inlet, close blank-off, instant atmospheric jump or frozen reading—often hose volume, not system. Right: gauge on system side, smooth decay segment after isolation, slow rise may mean moisture, sharp rise may mean leak. The pattern over time beats a single snapshot.
Five-minute rig self-test before blaming the unit
Before hooking to a customer circuit, blank off your CRT or adapter, pull the rig alone to target, isolate, and timedecay. If the rig cannot hold, fix hoses, O-rings, or valve cores first. The Elitech VGW-mini listing includes a 3-way isolation valve—use it to prove the gauge path seals before you blame the split.
Mini-split vs residential split port access
Residential splits often give 3/8 or 1/2 service ports once cores are out. Mini-splits may need 5/16 adapters and shorter hose runs; conductance matters more on long pulls. Same isolation rule applies: system-side gauge, isolate pump path, timed hold. Port access changes adapters, not the physics.
Review isolation hardware on the kit page
If you want a gauge and valve set sized for decay work rather than pump-side guessing, check the HVAC vacuum gauge kit detail page for the published 3-way valve and adapter list. Pair with the standing vacuum test procedure checklist on this site for pass/fail timing.
Can I leave the gauge on the manifold centre port?
Only if that port is system-side after isolation. Many setups leave too much hose volume in the measured path.
How long should I wait after isolating?
Ten to fifteen minutes is common teaching; POE systems often expect tighter rise than mineral-oil jobs.
Does hose permeation fake a leak?
Yes. Old 1/4-inch vacuum hoses can creep upward slowly. Large-bore, dedicated vacuum hoses reduce that effect.